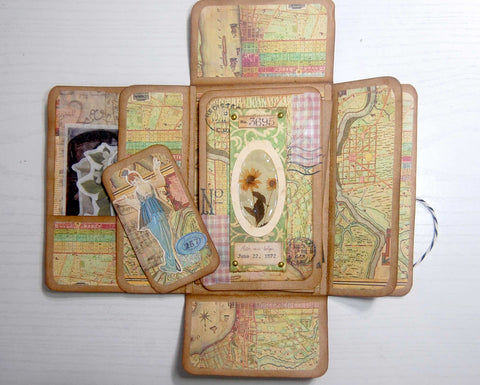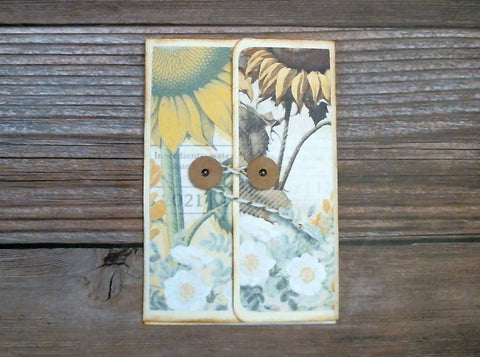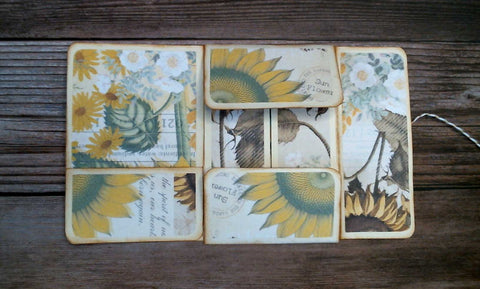


In this video: DIY Folio I showed how I made this sweet folio. There's a link below for the printables I used. They are free to print or download. Please do not share them.
Here's how I made it:
Step 1
Print the Folio Template on cardstock. I used 65 # brown kraft cardstock. There are light and dark versions of the template. Use the lightest one that shows on your cardstock so the lines aren't obtrusive. Note: the printables don't have the words on them. I just put that up here so you know what goes where.

Step 2
Print the decorative papers template on your paper of choice. Make two copies. I used the "Map" printable from the download, but you can use anything you have. Just note - if there is a strong sense of direction in your paper, it might not look good in the end.

Step 3
Cut out all the pieces. Ink the edges if you want to.
Step 4

Glue the decorative papers to the outside of the folio ONLY, leaving an equal margin on all sides.
Step 5

Fold the folio (see the 4 blue fold lines on the image above) and, on the front cover, mark where you want the closures to go. For the closures I used two layers of kraft cardstock glued together and cut into 1/2 inch circles. Then I poked a hole in the middle.
Use a marker or pen through the center hole to mark where you want to put the hole for the brad to attach the closure. Poke a hole where you made the marks, insert brads through the circles and attach to the folio. Tie a piece of string under one circle to act as the closure.

Step 6
Use the decorative papers to cover the inside of the folio (covering the brad legs). You can also cover both sides of the journaling cards at this point.
Step 7
Fold the center fold outs along the line indicated on the printable (about 1/4 inch along the long edge). On both sides of each fold out, center the decorative printables, and glue them on. Attach the fold outs to the center of the folio, making sure you can still close the folio.

Fill with journal cards, and any stickers, stamps and ephemera that you want.

Click the link below to access the printables for the junk journal folio. You can print them from there, or you can download them for future use.
If you only want to print a few of the pages, enter those page numbers in your print dialogue as you print.
Here are some folios I made using old file folders and different decorative sheets. You can go wild with the things you create.


Thank you, Jodie, for this great tutorial and printable. Love it.
thank you for this! This is also easy to change around for pockets and what not. super easy for beginners like i am.
You are so welcome, Sayuri. I’m glad you like the printable. Happy crafting!
Thank you so much.
They are beautiful designs,I felt relieved.
❤️❤️❤️
Thanks for your kind comment, Alexandra. It definitely gets easier after the first one. I love how you can totally change the look by using different papers and cardstock.